.JPG)
.JPG)
.JPG)

Satin Pieces, Living life through loving fabric!
 |
I am obsessed with towels! I adore hand towels, kitchen towels, bath towels, beach towels...just all of it!! I always feel ripped off when I'm shopping at the store and I see a cute kiddie towel I want to buy for my little love's bathrooms. So I decided to start making my own and I'm so glad I did! Once I started I found out I JUST CAN'T STOP! This is a great project to do for your home! |
 |
| Materials, hand towel, scrap fabric. Measure your fabric to be one inch longer on all 4 sides. |
 |
| Turn your fabric over and fold the seams one inch then iron to keep it in place. |
 |
| Next pin and position your fabric onto your towel. |
 |
| Sew with a zig zag stitch. |
|
| NOW HANG THAT CUTIE TOWEL UP IN YOUR BATH AND BE PROUD!! |
 |
| I JUST LOVE MAKING THESE :) AND IT ONLY COST ME $2.50! ENJOY :) |
  |
| Materials: 1/2 yard designer fabric (i used Micheal Miller) for the top & 1/2 yard Minky for the back. |
 |
| pin and sew both pieces right sides together |

 |
| Leave a two inch opening!! |
 |
| Turn your blanket right sides out and close up the opening. Optional Step! Top stitch the entire blanket with a decorative stitch. |
| |
| And That is it!!!!! Now you are ready to wow the ladies at your friend's baby shower!! | ENJOY! :) |
  |
| Materials: 1 bath towel, 2 wash cloths for the hood and one extra for the spikes & eyes. A strip of rick rack. |
 |
| Trace and cut out 4 triangles. Sew two right sides together. Leave an opening. Turn right side out and sew shut. |

 |
| Attach your rick rack to the right ends of both wash cloths. Sew in place. |
 |
| to make the eyes, cut out two oval cloth pieces, fold in half and sew. Cut a circle out of your wash cloth for the eye. |
 |
| sew your triangles onto one side of your towels with the horns facing down. Then place both clothes right sides together and sew. Only sew across the top and down the left side of the towels. Leave the right sides open. |


 |
| Now attach your eyes by sewing a zig zag stitch around the cloth and fabric pieces. |
 |
| Looking like a monster! |
 |
| Pin the back side of your head towel onto the inside of your body towel (long ways). Find the center of your towel and position your head piece. Only sew the back side! Make sure to sew the hood and the body towel wrong sides together. |
 |
| TADA!!!! A HAPPY MONSTER/DINO/LIZARD!! |
 |
| Side profiles! |
 |
| Once you get the hang of it there's no stopping your creativity!! |

 |
| ENJOY! :) |

 |
| Cut two squares of fabric 9x9 inches and one piece of batting 9x9" |
 |
| cut out your batting |
 | |
| pin batting on the back side of one square and sew in place. |
 |
| Now place both squares right sides together and sew along the edges with a 1/4 seam allowance. Leave a 2" opening. |
 |
| Turn the squares right side out and hand sew the opening closed. |
 |
| optional step! Set your machine to a curve stitch |
 |
| Sew rows of stitches down the fabric. This gives it a finished potholder look! I love the look of the curve stitch for this!! |

 |
| Looks pretty! |
 |
| Now you are done!!! Place that adorable potholder in your kitchen and get some use out of it! |
 |
| Enjoy!! :) |

 |
| Materials needed |
 |
| Measure out 5 inches of your tulle and fold over. Pin in place then sew. Leave the ends open. |
 |
| Sew the tulle so you have a long loop. |
 |
| unscrew the embroderry hoop and disconnect them. You only need one hoop. |
 |
| thread the tulle throw the embrodery hoop. |
 |
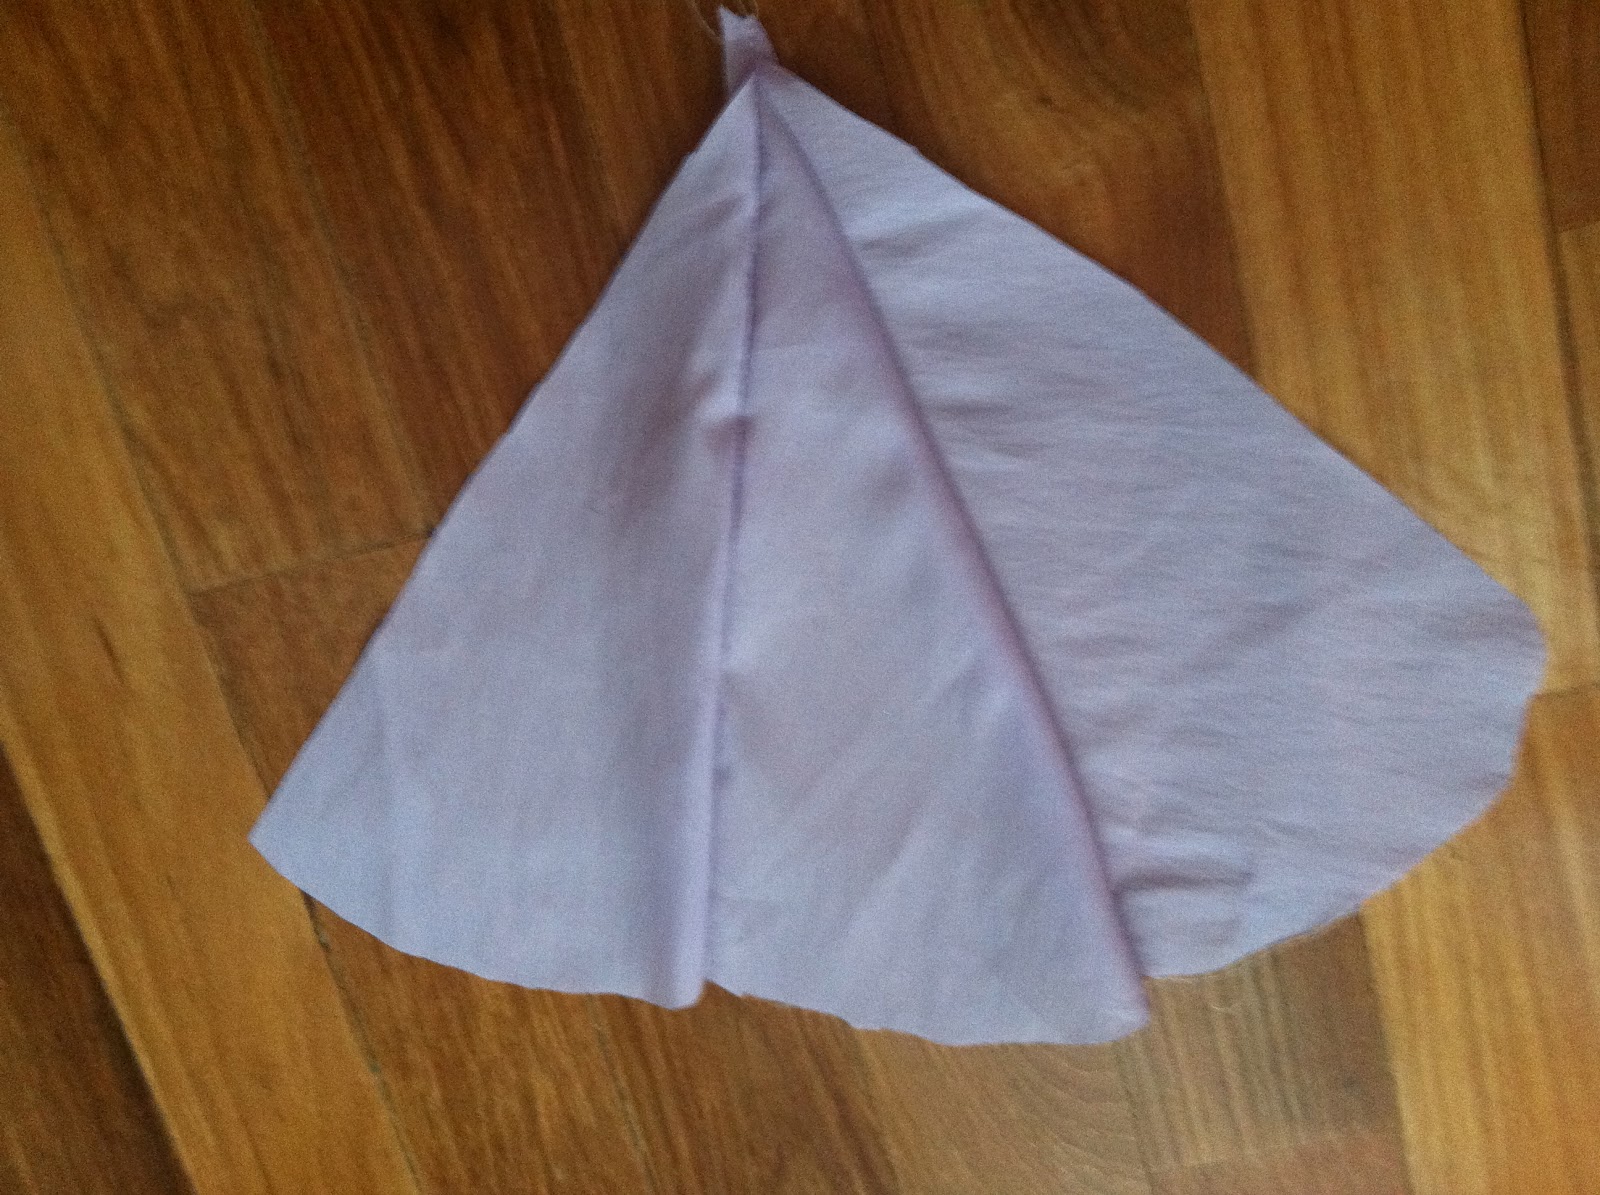
| to make the top cut out 12 triangles from your fabric. |
 |
| Sew two pieces, right sides together. (sew only down one side.) |
 |
| sew 6 triangles together then stop. sew the other 6 remaining triangle. Now sew to two pieces together to make a circle. |
 |
| Add a piece of ribbon, or fabric in the middle of your circle with long side facing in. This will be your loop to hang from. |
 |
| sew the loop securely in place. |
 |
| add ribbon or trimming around the circle. Pin the sew in place. |

 |
| Now hand sew the top to the tulle. |
 |
| TADA!! YOU ARE FINISHED! |
